


Updated on: 2025-12-18
If you value precise temperature control, classic style options, and simple maintenance, a dual handle faucet can be a thoughtful upgrade for your sink. This guide explains how to choose, install, and care for a two-handle tap with confidence. You will find myths clarified, practical steps outlined, and concise answers to common questions. The aim is to help you make a calm, informed decision that suits your space and routine.
- 1. Introduction Paragraph
- 2. Myths vs. Facts (dual handle faucet)
- 3. Tools You May Need
- 4. Step-by-Step Guide
- 5. Frequently Asked Questions
- 6. Are two-lever taps water-efficient?
- 7. What sink configurations fit a two-handle setup?
- 8. How long does installation usually take?
- 9. Summary & Key Takeaways
- 10. Q&A Section
- 11. Can I switch from a single to a two-handle without new holes?
- 12. What finishes resist fingerprints best?
- 13. How do I keep water lines balanced over time?
- 14. About the Author Section
- 15. Author Bio
Introduction Paragraph
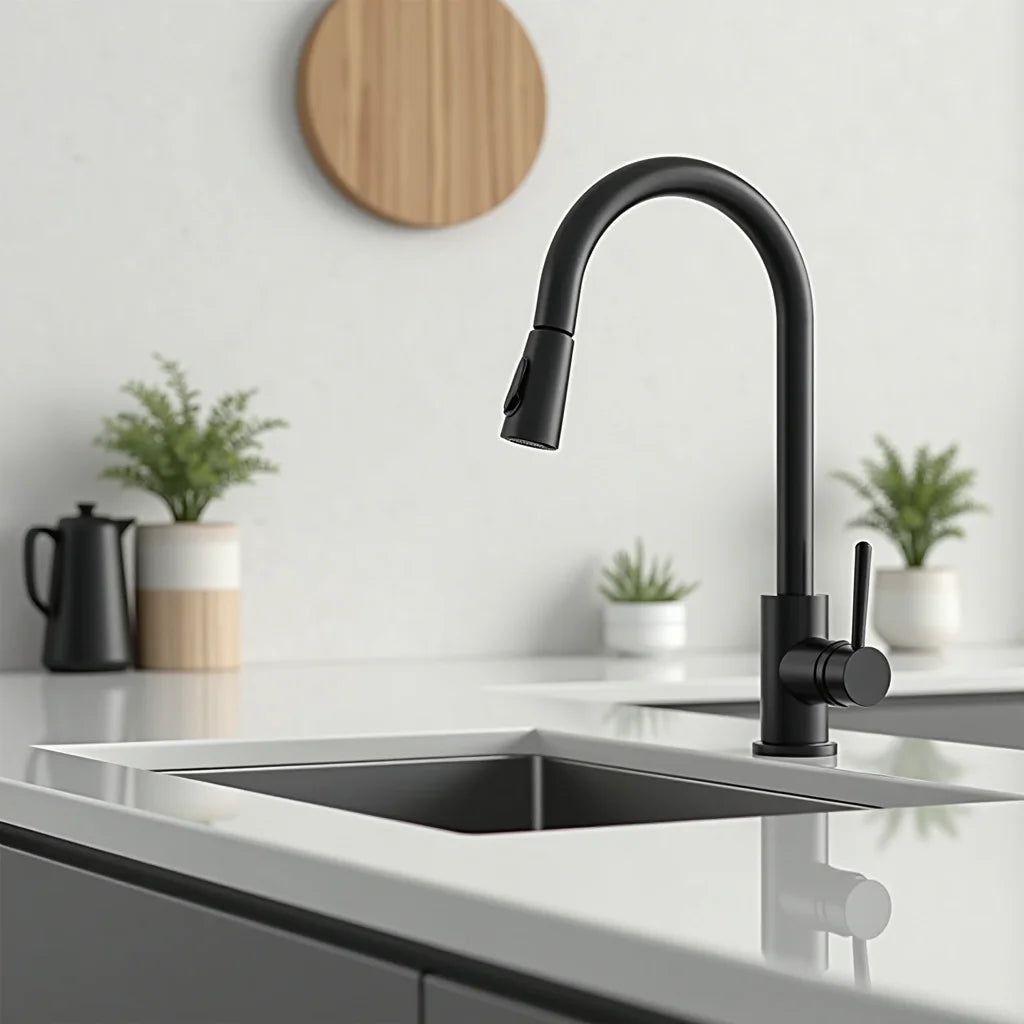
Choosing a sink fixture can feel more complex than it appears. Between styles, valve types, hole spacing, and finishes, it helps to have a clear path. Many homeowners prefer the familiar feel of separate hot and cold handles, especially when precise control and classic lines matter. If you are considering a dual handle faucet for your kitchen or bath, this guide walks through key decisions, gentle installation steps, and straightforward maintenance tips.
As you explore options, it may be helpful to compare categories such as bathroom faucets and kitchen faucets. Understanding the sink configuration, finish durability, and valve quality will support a smooth experience from purchase to daily use.
Myths vs. Facts (dual handle faucet)
- Myth: Two-handle taps always waste more water. Fact: Water use depends on the aerator, flow rate, and your habits. Models with WaterSense-style flow rates and quality aerators can be as efficient as single-handle designs.
- Myth: They are hard to install. Fact: With the right tools and a patient approach, installation is manageable for many DIYers. The process is methodical: shut off water, position the trim, secure the nuts, and connect supply lines.
- Myth: Two handles feel outdated. Fact: Today’s two-lever faucets come in modern silhouettes, slim profiles, and premium finishes that suit contemporary, transitional, and classic spaces alike.
- Myth: Temperature adjustments take longer. Fact: Separate hot and cold controls allow quick fine-tuning, which many users find intuitive after a short period of use.
- Myth: More parts mean more leaks. Fact: Reliability mainly depends on valve quality and proper installation. Ceramic-disc cartridges and solid brass bodies are known for durability.
- Myth: They never fit small sinks. Fact: Centerset two-handle models fit 4-inch three-hole sinks, while widespread sets fit 8-inch (or adjustable) spreads, making them suitable for compact and larger basins.
Tools You May Need
Adjustable wrench, basin wrench, plumber’s tape, non-staining plumber’s putty or silicone, bucket or towel, and mild cleaner for final wipe-down.
Step-by-Step Guide
- 1. Confirm sink configuration: Count holes and measure the spread (e.g., 4-inch centerset or 8-inch widespread). This ensures your selected two-handle mixer fits without extra drilling.
- 2. Turn off water: Close the shut-off valves under the sink. Open the existing tap to release pressure and place a towel or bucket underneath.
- 3. Remove the old fixture: Disconnect supply lines, loosen mounting nuts with a basin wrench, and lift out the old assembly. Clean the deck to remove old putty.
- 4. Dry-fit the components: Position the spout and handles to verify alignment and handle clearance. This quick check prevents rework later.
- 5. Seal and seat: Apply a thin bead of non-staining plumber’s putty or silicone (as the manufacturer recommends), then set the trim. Hand-tighten mounting hardware to keep parts aligned.
- 6. Connect supply lines: Attach hot and cold lines to the correct inlets. Use plumber’s tape on threaded connections if needed, and tighten gently to avoid overtightening.
- 7. Install the drain (if included): Place the flange with sealant, align the tailpiece, and secure the pivot rod and stopper. Check that the stopper moves smoothly.
- 8. Restore water and test: Slowly open shut-off valves. Let the water run to flush debris, and check every joint for moisture. Tighten connections if a drip appears.
- 9. Final alignment and clean-up: Center the handles, confirm smooth operation, and wipe away sealant residue for a neat, finished look.
Frequently Asked Questions
Are two-lever taps water-efficient?
They can be. Look for low-flow aerators and ceramic-disc valves. Good habits, like turning off the water between tasks, will also help you keep consumption in check.
What sink configurations fit a two-handle setup?
Most models fit either 4-inch three-hole (centerset) or 8-inch widespread layouts. Some widespread designs offer adjustable spacing, which is helpful when retrofitting older sinks.
How long does installation usually take?
For a straightforward replacement, many homeowners complete the job in about an afternoon. Allow extra time if you are adding a matching drain, replacing shut-off valves, or cleaning stubborn buildup.
Summary & Key Takeaways
Two-handle fixtures offer fine temperature control, familiar ergonomics, and a broad range of styles. With a simple checklist—match your sink holes, choose durable valves, and seal carefully—you can enjoy reliable performance and a polished look. If you would like additional inspiration before choosing, you might browse Allfixture’s buying guides or explore popular picks across best-selling fixtures. We hope these tips support a calm, confident upgrade that fits your routine and your space.
Q&A Section
Can I switch from a single to a two-handle without new holes?
It depends on your sink or countertop. If you have a single-hole sink, you would typically need new holes or a deck plate with compatible side valves. If you already have three holes, a centerset two-handle set often drops in smoothly.
What finishes resist fingerprints best?
Brushed and matte finishes tend to hide smudges better than polished surfaces. PVD-coated options offer strong wear resistance and help maintain a consistent appearance with minimal effort.
How do I keep water lines balanced over time?
Periodically clean aerators and check shut-off valves for partial closures. If flow seems uneven, flushing the lines and ensuring both cartridges operate freely usually restores balance.
About the Author Section
Author Bio
Written by the Allfixture Editorial Team, specializing in faucets, shower systems, and home water hardware. We focus on practical, design-forward guidance that makes upgrading feel approachable. Thank you for reading—wishing you an easy, satisfying refresh.


