


Buying Guides

Kitchen Faucet Guide: Choosing Finish, Function and Flow Rate
Kitchen Faucet Guide: Choosing Finish, Function and Flow Rate made simple for stylish, splash-free sinks and smarter water savings
Learn more
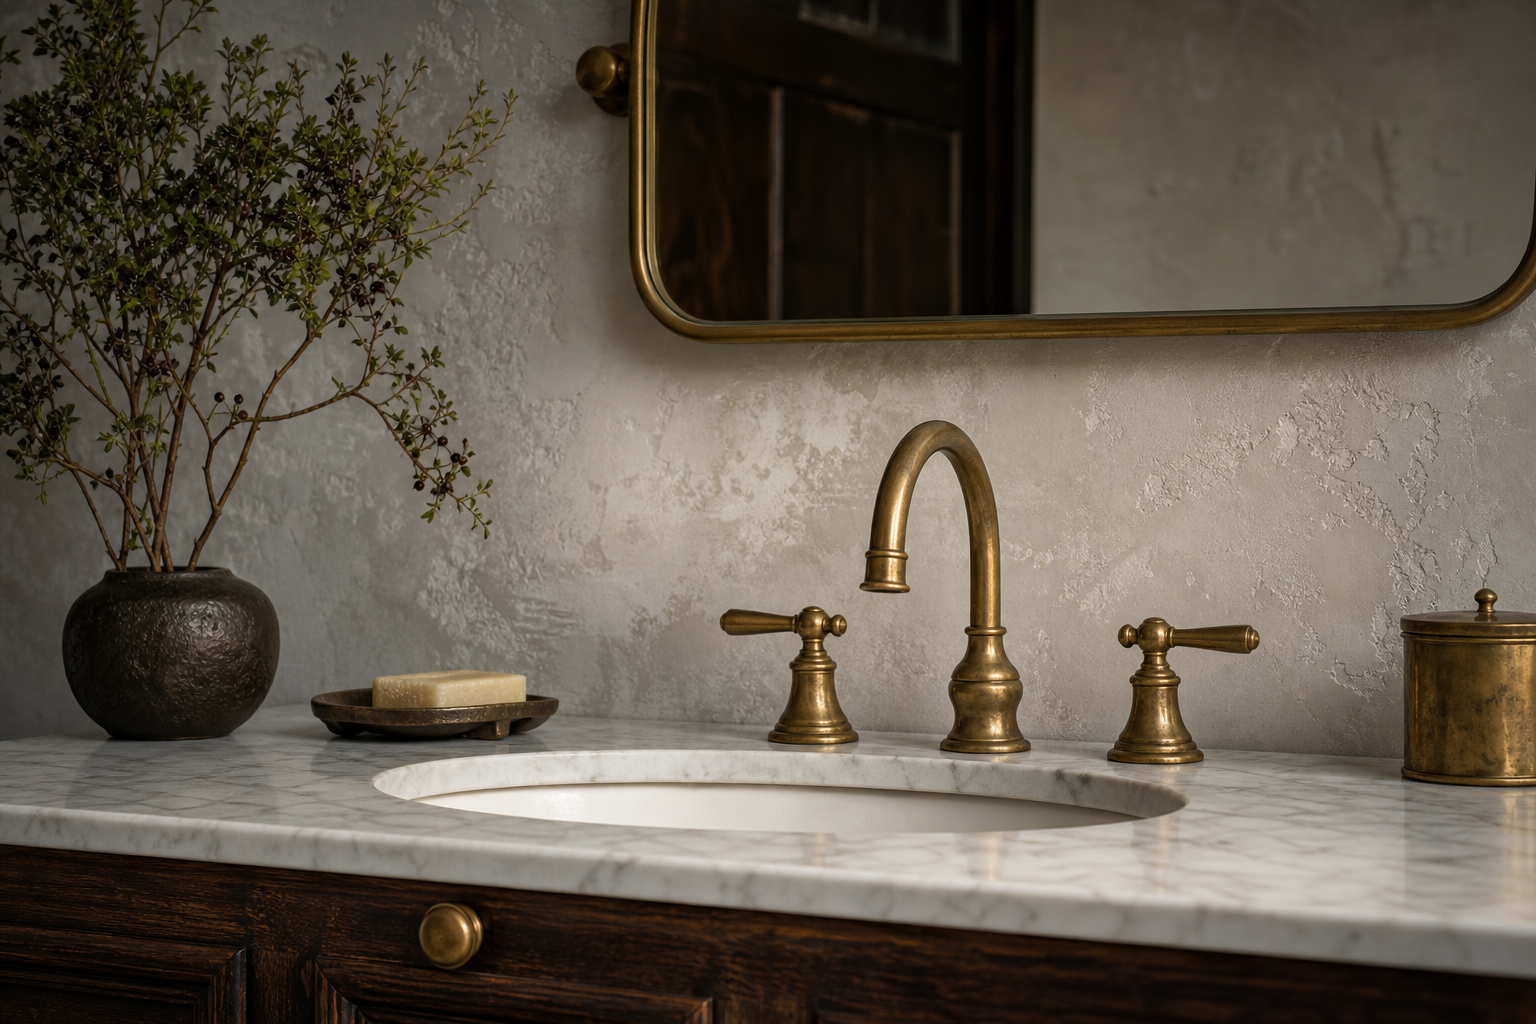
Bathroom Fixture Styles: Matching Faucets to Your Design Vision
Bathroom Fixture Styles: Matching Faucets to Your Design Vision with tips to blend finishes, shapes and trends into a cohesive, spa-worthy space
Learn more
Thermostatic Shower Systems: Safety Features That Matter Most
Thermostatic Shower Systems: Safety Features That Matter Most for burn-free, family-safe showers and perfect water temperature every time
Learn more
Pull-Down Spout Faucets: Ergonomic Design for Busy Kitchens
Pull-Down Spout Faucets: Ergonomic Design for Busy Kitchens that maximizes comfort, speeds up cleanup, and transforms everyday tasks into effortless flow
Learn more
Cold Water Kitchen Faucets: When Simplicity Wins
Cold Water Kitchen Faucets: When Simplicity Wins by cutting costs, clutter and complexity while keeping your kitchen fresh, efficient and effortlessly modern
Learn more
Seasonal Sale Finds: Premium Fixtures at Unbeatable Prices
Seasonal Sale Finds: Premium Fixtures at Unbeatable Prices for every room—upgrade your home style now before the best deals disappear
Learn more
Modern Kitchen Fixtures: Transform Your Culinary Workspace
Modern Kitchen Fixtures: Transform Your Culinary Workspace with sleek lighting, smart faucets and bold hardware that turn everyday cooking into a design statement
Learn more
Antique Brass Kitchen Faucets: Classic Warmth Meets Durability
Antique Brass Kitchen Faucets: Classic Warmth Meets Durability in timeless designs that resist wear, elevate everyday cooking, and add vintage charm to any space
Learn more
Brushed Gold Bathroom Fixtures That Instantly Elevate Style
Crave hotel-chic vibes? Brushed Gold Bathroom Fixtures That Instantly Elevate Style with easy swaps, smart styling, and wow-worthy inspo.
Learn more


