


Updated on: 2025-12-28
A consistent, comfortable shower should feel effortless. This guide explains how balance valves help stabilize water temperature, how to plan a safe installation, and how to maintain reliable performance over time. You will also find practical tips, a step-by-step walkthrough, and answers to common questions. Whether you are refreshing a guest bath or fine-tuning a primary suite, the goal is a calm, steady shower experience powered by dependable components. For clarity, we also compare key features and routine care so you can make confident decisions.
- Introduction
- Step-by-Step Guide to Installing a pressure balance shower system
- Step 1: Assess water lines and shut-offs
- Step 2: Select a compatible valve and trim
- Step 3: Prepare the wall and rough-in depth
- Step 4: Connect supply lines and test for leaks
- Step 5: Calibrate temperature limit and flow
- Step 6: Install trim, seal, and final check
- Tips
- FAQs
- Wrap-up & Final Thoughts
- About the Author
Introduction
Few upgrades improve daily comfort like a stable shower temperature. A temperature-balancing valve reacts to sudden changes in water supply—such as a toilet flush—helping to minimize spikes that can feel too hot or too cold. This stability supports safety, comfort, and a more relaxing routine. In the guide below, you will find a clear explanation of how these valves work, what tools and parts you may need, and how to plan a careful installation. If you are browsing fixtures, you might appreciate exploring curated shower sets to see compatible valves, trims, and finishes in one place.
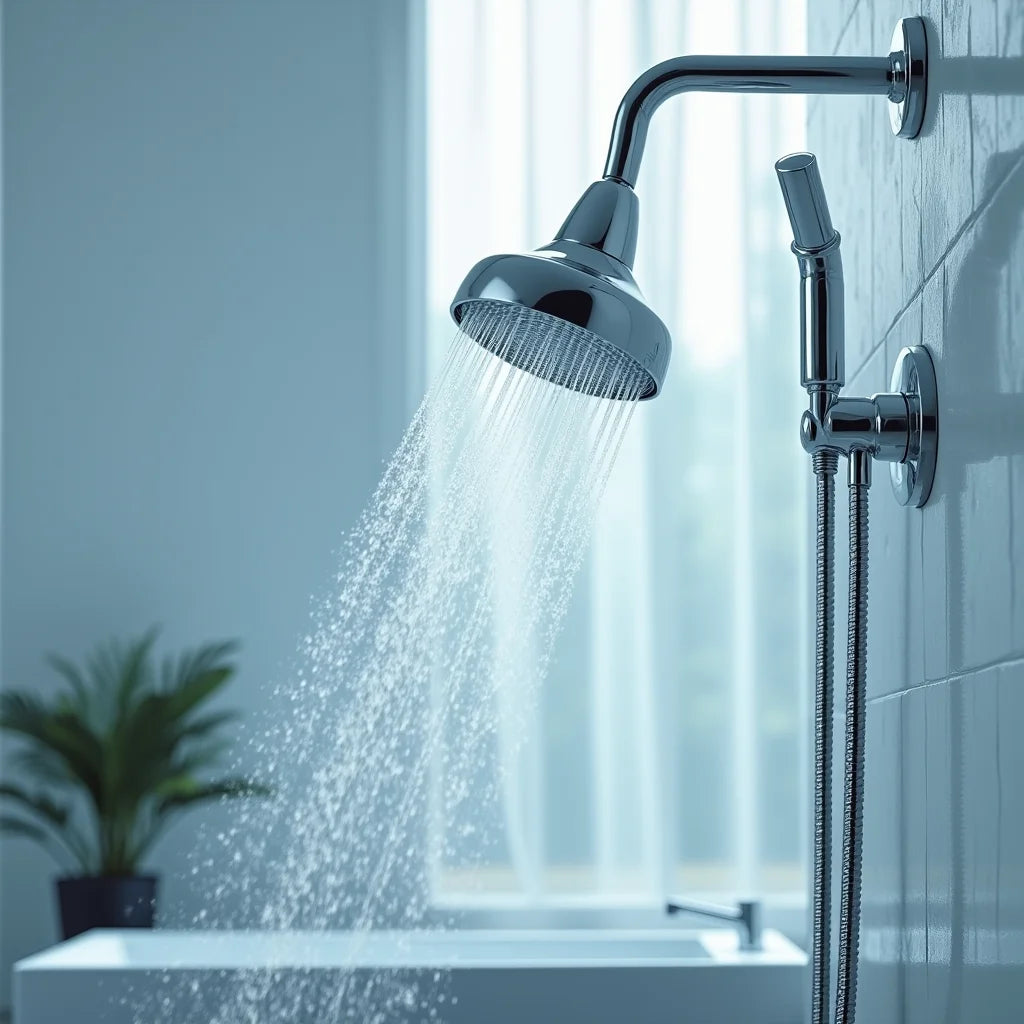
Step-by-Step Guide to Installing a pressure balance shower system
Please consider the steps below as general guidance. If you are unsure about local codes, existing plumbing conditions, or specialized tools, seeking assistance from a licensed professional may be helpful. The objective is to keep things safe, neat, and predictable so your shower feels steady every day.
Step 1: Assess water lines and shut-offs
Begin by locating the main supply shut-off and any branch shut-offs serving the bathroom. Confirm that both hot and cold lines are accessible and in good condition. It can be helpful to check water pressure with a gauge at a nearby spigot; a typical residential range is often around 40–60 psi. If pressure varies widely, consider a pressure-reducing valve at the main line to support consistent flow. Take photos of your current setup so you can reference pipe paths, stud locations, and any previous repairs while planning the rough-in.
Step 2: Select a compatible valve and trim
Choose a pressure-balanced mixing valve that matches your piping type (copper, PEX, or CPVC) and intended trim style. Verify the rough-in depth range on the valve’s plaster guard so the finished wall will sit within the manufacturer’s tolerance. Solid-brass bodies tend to offer long-lasting performance. If you would like an elegant, durable set to match, you may enjoy this thoughtfully designed solid brass shower set. Also review the temperature limit stop feature, which lets you cap the maximum handle rotation for added safety.
Step 3: Prepare the wall and rough-in depth
Open the wall where the valve will sit, keeping cuts clean and measured so future patching is simple. Dry-fit the valve using the plaster guard as a depth guide; the face should align with the finished surface range indicated by the manufacturer. Support the valve with blocking so it remains stable and does not twist when the handle turns. Aim to keep the shower arm outlet and tub spout (if present) at comfortable heights. Before final connections, map out the route for the handheld outlet or diverter, if your trim includes those features.
Step 4: Connect supply lines and test for leaks
With the valve secured, connect hot and cold supply lines. Use the appropriate fittings and follow best practices for each material. For threaded joints, apply thread sealant tape or compound as recommended. Pressurize the system and check each joint for moisture. It is kind to run water for a short period to flush debris from new piping. If you notice any seepage, depressurize, redo the joint, and test again. Taking a moment here to get a perfect seal will save time and worry later.
Step 5: Calibrate temperature limit and flow
Most balancing valves include an adjustable limit stop that prevents over-rotation toward the hottest setting. Run the shower and slowly increase temperature until you reach a comfortable maximum, then set the stop according to the manufacturer’s instructions. This small adjustment helps protect guests and family members who may prefer a gentle, predictable range. While testing, observe how quickly the valve responds to changes in supply pressure; steady performance is a good sign that installation is correct and the cartridge is working as intended.
Step 6: Install trim, seal, and final check
Once calibration is complete, fit the escutcheon, handle, diverter control (if supplied), and the showerhead or handheld bracket. Apply a thin bead of silicone behind the trim plate where manufacturers recommend sealing; this helps keep water from entering the wall cavity. Turn the water on, run both hot and cold, and test the handle movement. A smooth turn and consistent temperature indicate success. If you are coordinating finishes across the space, pairing your shower with matching bathroom faucets can create a cohesive look.
Tips
- Choose a sturdy valve body. Brass components often offer reliable longevity and serviceability.
- Confirm rough-in depth before closing the wall. A misaligned valve can cause trim fit issues later.
- Protect the cartridge during tiling. Keep the plaster guard in place until grout has cured.
- Use clean, burr-free cuts on tubing. Smooth edges help ensure tight, leak-free joints.
- Label hot and cold supplies while walls are open. Clear markings can reduce errors.
- Set the temperature limit stop conservatively at first. You can fine-tune in small increments.
- Maintain with gentle descaling. Soak showerheads and remove mineral buildup for even flow.
- Keep documentation. Store the installation guide and a photo of the finished valve for future reference.
FAQs
What is the difference between a pressure-balanced valve and a thermostatic valve?
A pressure-balanced design responds to fluctuations in hot and cold supply pressure to help reduce sudden temperature swings. A thermostatic valve, by contrast, uses a thermostat to maintain a set temperature even if both pressure and temperature vary, and it often provides separate controls for volume and temperature. Both improve comfort; thermostatic models typically offer finer control and higher cost.
Can I retrofit this type of valve into an existing shower?
Yes, in many homes. Retrofitting usually involves opening the wall, replacing the current mixing valve, and adjusting piping to match the new body and trim depth. Planning around tile, studs, and access points is important. If the layout is complex or you have uncertain plumbing conditions, seeking professional support may be wise.
How do I prevent scalding for children or guests?
Use the built-in limit stop to cap the handle rotation toward hot. Test with the water running and set a comfortable maximum. You may also add an anti-scald showerhead with flow control and keep regular maintenance to ensure the cartridge moves freely and responds quickly.
Why does my shower get cooler when another tap runs?
This often occurs because water supply pressure shifts when another fixture opens. A pressure-balancing cartridge compensates by adjusting the mix of hot and cold to keep the outlet closer to your target temperature. If swings persist, check that your home’s main pressure is steady and that the cartridge is clean and in good condition.
Wrap-up & Final Thoughts
When chosen and installed with care, a modern balancing valve creates a calm, reliable shower experience. The steps in this guide are designed to help you plan thoughtfully, make safe adjustments, and maintain dependable performance with simple upkeep. If you are comparing finishes or building a coordinated look, you may enjoy browsing best sellers for ideas that complement your space. With the right parts and a gentle approach, your shower can feel steady and comfortable day after day.
About the Author
Written by the Allfixture editorial team, specialists in bathroom and kitchen fixtures with a focus on practical, design-forward solutions. We test, compare, and explain components so you can choose with confidence and care. If you found this helpful, you might also explore our in-depth guides and curated collections for inspiration. Thank you for reading, and we wish you many comfortable showers ahead.
Still deciding between valve technologies? Read our head-to-head comparison: Thermostatic vs Pressure Balance Shower Valves: Which to Choose.


